Configure Hive ODBC Connections on Windows
About this task
To create a Data Source Name (DSN)
Procedure
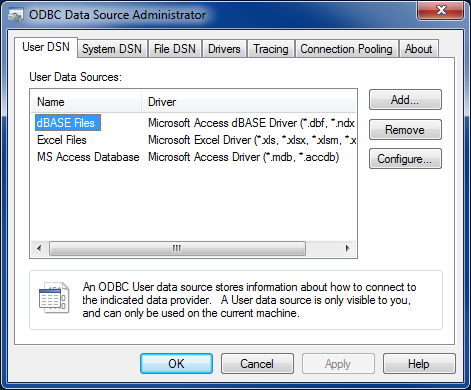
- Open the Data Source Administrator from the Start menu. Example: Start > MapR Hive ODBC Driver 2.0 > 64-Bit ODBC Driver Manager
-
On the User DSN tab click Add to open the Create New Data Source dialog.
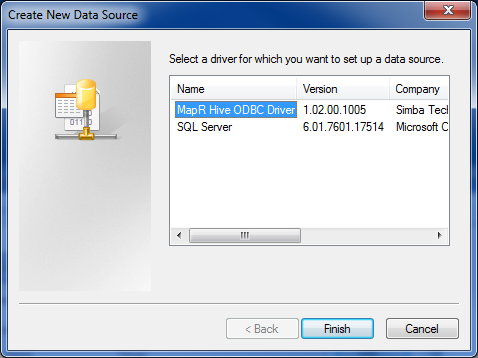
-
Select MapR Hive ODBC Connector and click Finish to open the Hive ODBC
Driver DSN Setup window.
-
Enter the connection information for the Hive instance:
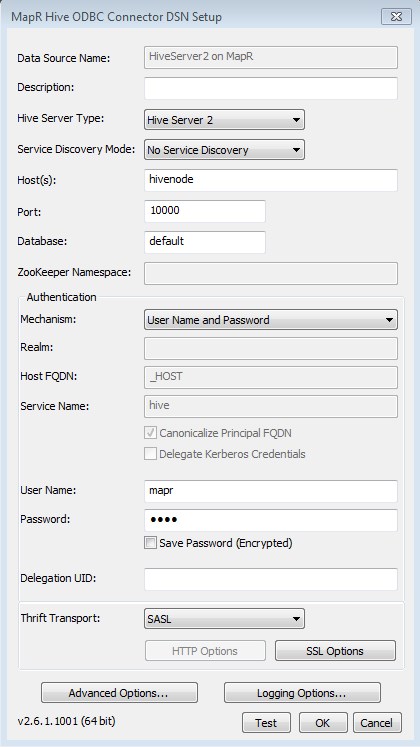
- Data Source Name — Specify a name for the DSN.
- Description — Enter an optional description for the DSN.
- Host — Enter the hostname or IP of the server running HiveServer1 or HiveServer2.
- Port — Enter the listening port for the Hive service.
-
Database — Leave as
defaultto connect to the default Hive database, or enter a specific database name. - Hive Server Type: — Set to HiveServer1 or HiveServer2.
-
Authentication — If you are using HiveServer2, set the following.
- Mechanism: — Set to the authentication mechanism you're using. The MapR ODBC driver supports user name, user name and password, username and password over SSL authentication, and Kerberos.
- User Name: — Set the user to run queries as.
- Password: — The user's password, if your selected authentication mechanism requires one.
- Optionally, click Test to test the connection.
-
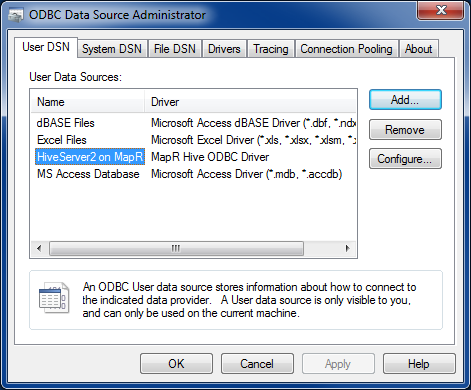
Click OK.
Your new connector will appear in the User Data Sources list.