Step 4: Create a KMIP-Enabled Domain
Describes how to create a KMIP-enabled domain to add KMIP clients.
To create a KMIP-enabled domain where you can add your KMIP clients:
- Navigate to .
- Click Add.
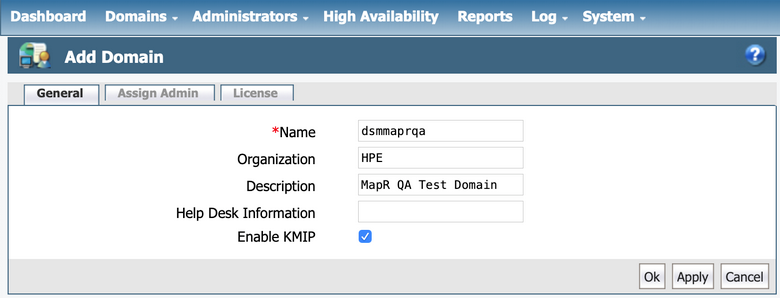
- Enter the domain name.
- Select the Enable KMIP option.
- Click Apply to create the domain, as shown in the following
example:
- Click the Assign Admin tab to assign an administrator to this
domain. Select the administrator from the list. In this example, this is administrator
alladminwith administrative privileges of type All. Then, click OK:
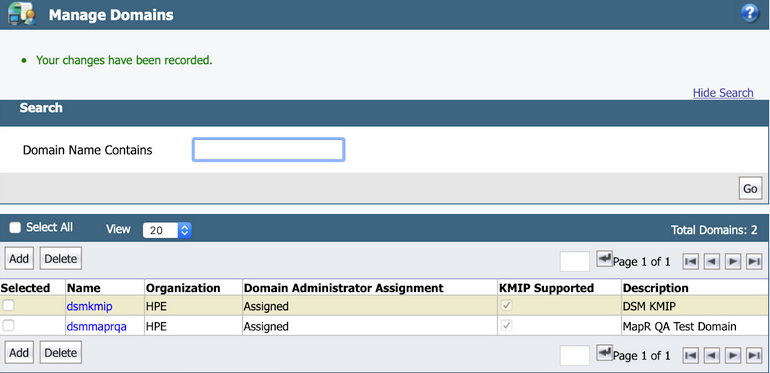
The domain is then added to the list of domains, as shown in the following example: